Spring is my favorite time of the year. I love getting out and walking around for what seems like the first time in forever. While we have our warm days, what’s a better way to spend them than by baking sugar cookies?
“I really like baking new things during this time of year, especially since school can be stressful,” said Myah Pacheco, junior.
This recipe is the perfect spring, light cookie that is great with frosting or on its own. These cookies are also perfectly adaptable for any dietary restrictions. Specifically, I used gluten-free flour and excluded the almond extract, and they tasted exactly the same.

“They’re really good cookies,” said Brynn Phillips, junior. “They also seem really simple which I appreciate.”
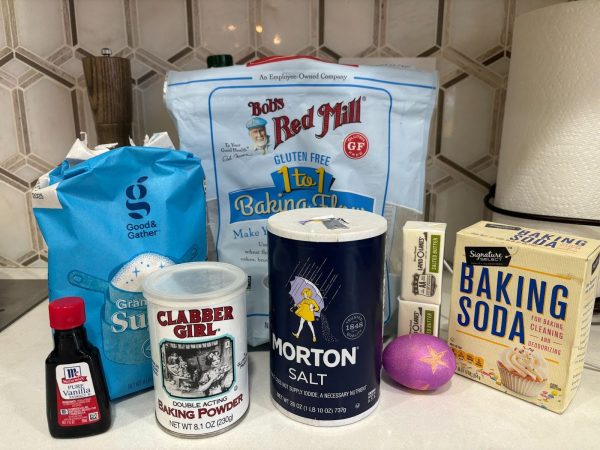
My best recommendation for gluten-free flour is Bob’s One Mill One-One Baking Flour which has the same consistency and qualities as regular flour. As for the omission of almond extract, it truly felt like there was no difference.
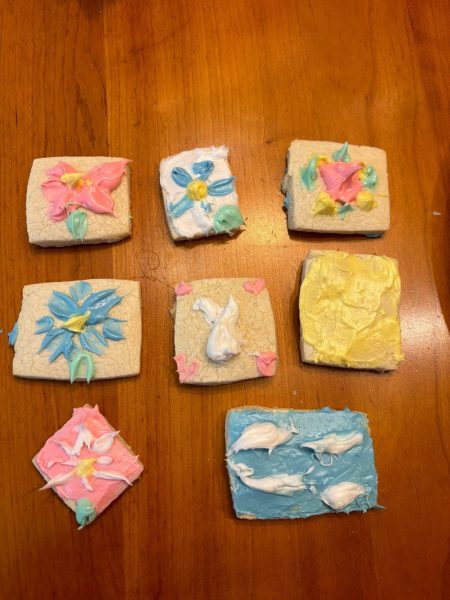
“They taste amazing,” said Ryan Baltazar, sophomore. “I think the designs are really adorable.”
Notes
Total time: Four hours and 45 minutes (including cooling).
Yields: 24 three to four inch cookies.
Ingredients
Two and one-fourth cups of all-purpose flour.
One-half teaspoon baking powder.
One-fourth teaspoon salt.
Three-fourths cup unsalted butter, softened to room temperature.
Three-fourths cup granulated sugar.
One large egg, room temperature.
Two teaspoon vanilla extract.

Steps
- Whisk the flour, baking powder and salt together in a medium bowl. Set aside.
- In a large bowl, using a handheld or a stand mixer fitted with a paddle attachment, beat the butter and sugar together on high speed until completely smooth and creamy for about two minutes. Add the egg and vanilla and beat on high speed until combined for about one minute. Scrape down the sides and up the bottom of the bowl and beat again as needed to combine.
- Add the dry ingredients to the wet ingredients and mix on low until combined. The dough will be a bit soft. If the dough seems too soft and sticky for rolling, add one more tablespoon of flour.
- Divide the dough into two equal parts. Place each portion onto a piece of lightly floured parchment paper or a lightly floured silicone baking mat. With a lightly floured rolling pin, roll the dough out to about one-fourth inch thickness. Use more flour if the dough seems too sticky. The rolled-out dough can be any shape, as long as it is evenly one-fourth inch thick.
- Lightly dust one of the rolled-out doughs with flour. Place a piece of parchment on top. Place the second rolled-out dough on top. Cover with plastic wrap or aluminum foil, then refrigerate for at least one to two hours.
- Once chilled, preheat the oven to 350 F (177 C). Line two to three large baking sheets with parchment paper or silicone baking mats. Carefully remove the top dough piece from the refrigerator. If it’s sticking to the bottom, run your hand under it to help remove it. Using a cookie cutter, cut the dough into shapes. Re-roll the remaining dough and continue cutting until all is used. Repeat with the second piece of dough. (Note: It doesn’t seem like a lot of dough, but you get a lot of cookies from the dough scraps you re-roll.)
- Arrange cookies on baking sheets three inches apart. Bake for eleven to twelve minutes or until lightly browned around the edges. If your oven has hot spots, rotate the baking sheet halfway through bake time. Allow cookies to cool on the baking sheet for five minutes, then transfer to a wire rack to cool completely before decorating.
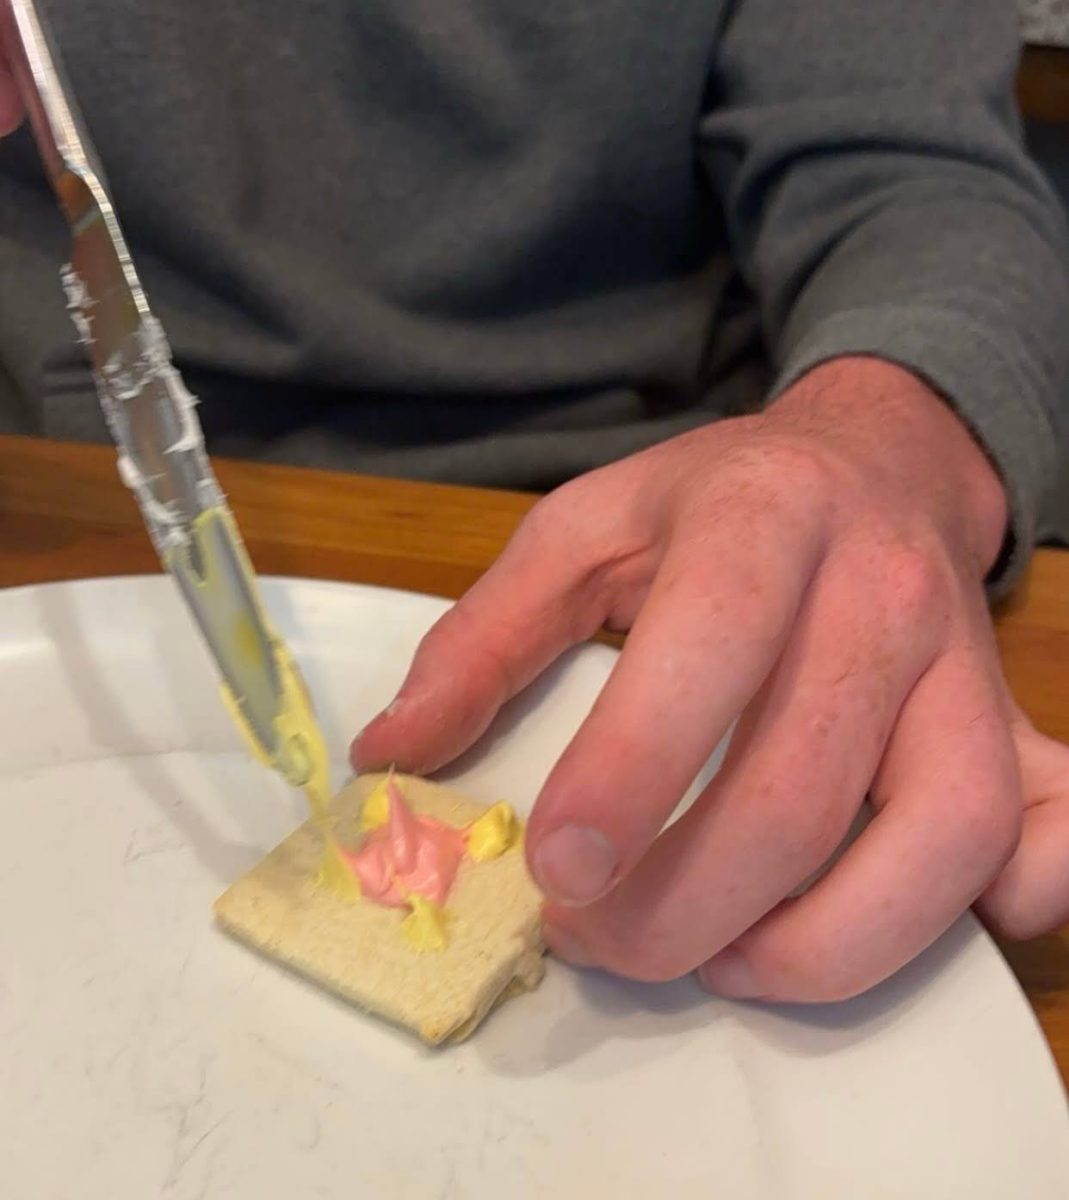
- Decorate!

The recipe was adapted from Sally’s Baking Recipes.


